
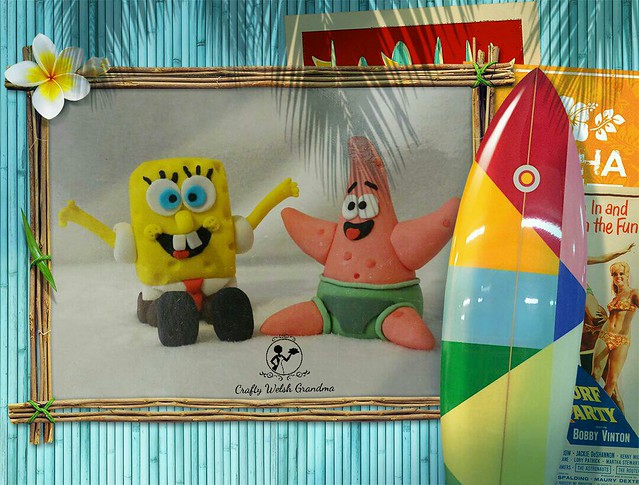
I'm making both him, and Patrick (see a later blog entry), well in advance in order for them both to dry in time to top off a dual birthday cake.
As I'd never made a Spongebob topper before, you will notice a number of errors, which I corrected as I went along. I hope you find this helpful.
When working with fondant, ensure you mix in some CMC powder or gum paste / modelling fondant. Throughout this log entry, I will use the word fondant, which I have already mixed with CMC powder.
I shall apologise, in advance, for my poor quality images on this post, I think I had some icing sugar on the lens.
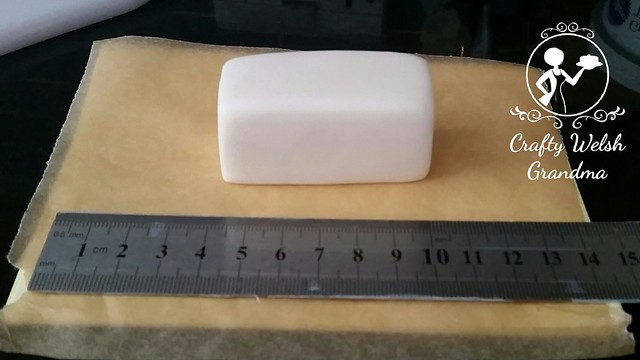
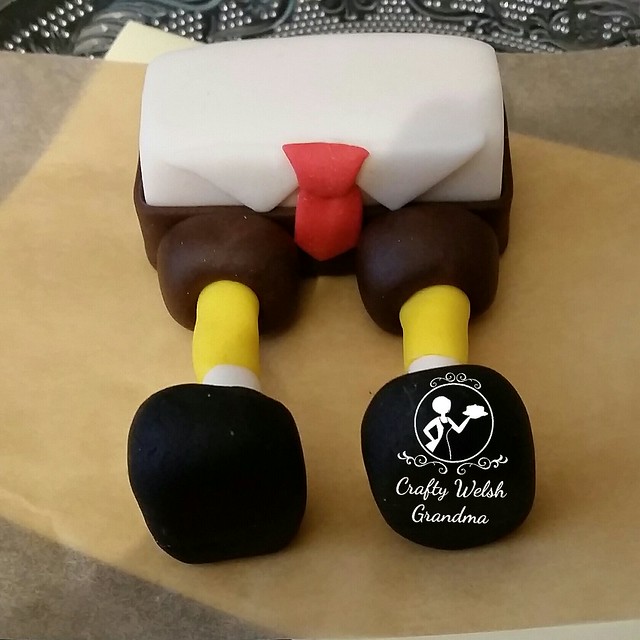
Step #1 - White shirt and body
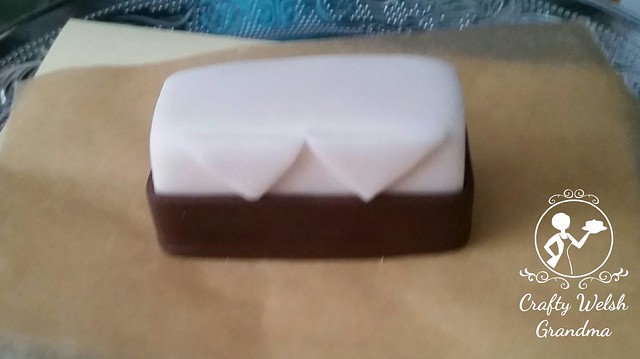
Make a rectangle of fondant from white, ensure the bottom is flat. If it's not flat, trim it so that it is.
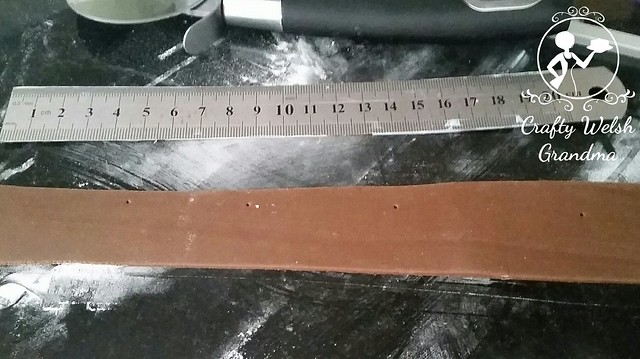
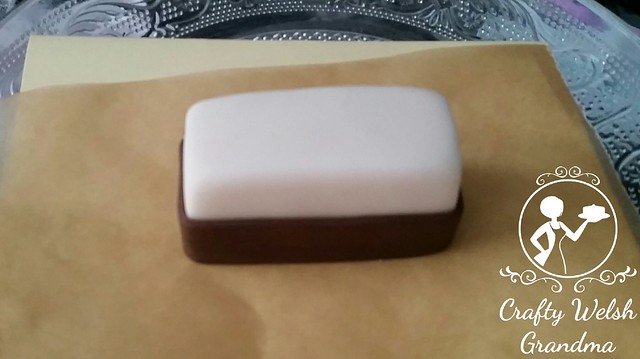
Roll out some brown fondant and cut it so that it's between half and 3/4 of the way up the white block. Then stick this to the bottom on the white block. This is Spongebob's shorts / trousers / pants.
Using white fondant, cut two small triangles (see image) and attach it to the side of your white block.
Step #4 - The tie
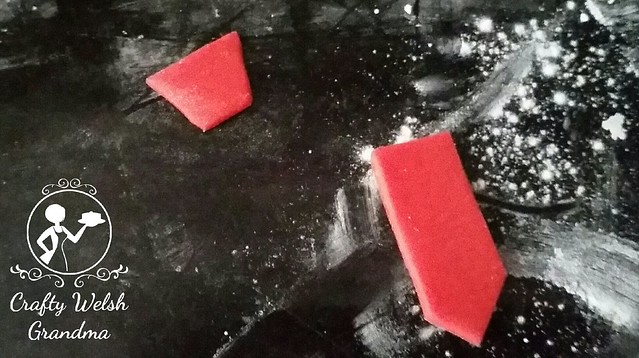
Using red fondant, cut a small strip and then cut a point into the bottom. Also cut a small triangle and then take the point off the bottom of that.
Pinch the top (without) the point) and then place the triangle piece over that.
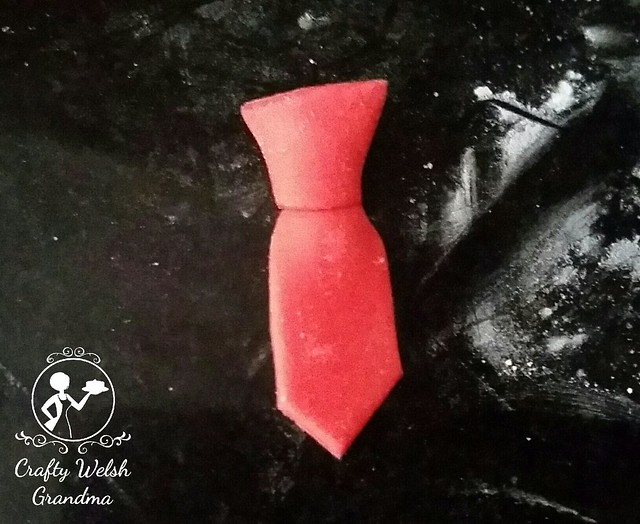
Once this is done, fix to the body between the two triangles.
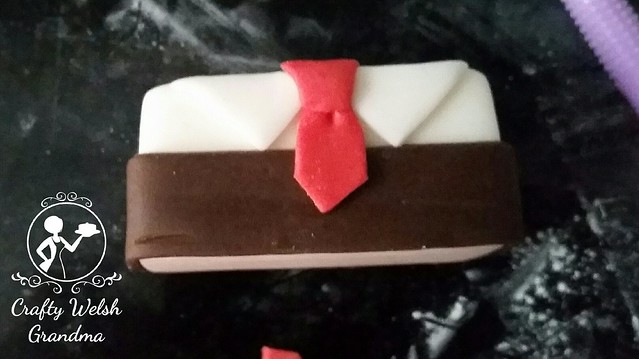
Here is where I made one of my first errors, I cut the red tie too long so I had to shorten it. I also should have fixed this on before the collar triangles.
Step #5 - Trouser legs
Roll out a short, fat sausage shape using the brown fondant. Check to ensure that it is no taller on the side than the height of the brown on that has been fixed to the block. Cut this in half, the cut ends will be fixed onto the block / body later.
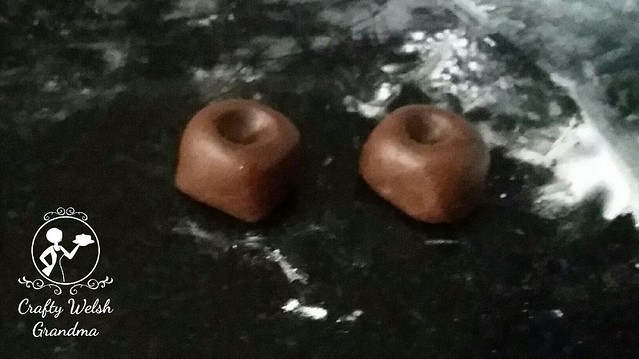
Using a ball tool, make indents into the uncut sides of both pieces, place to one side ready for the legs.
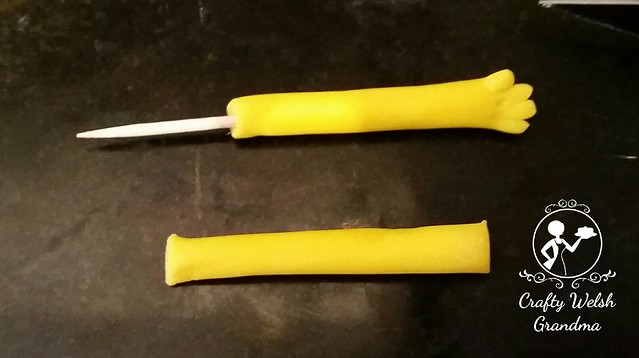
Step #6 - The legs
Cut two lengths each of white and yellow and join them together using edible glue or water.
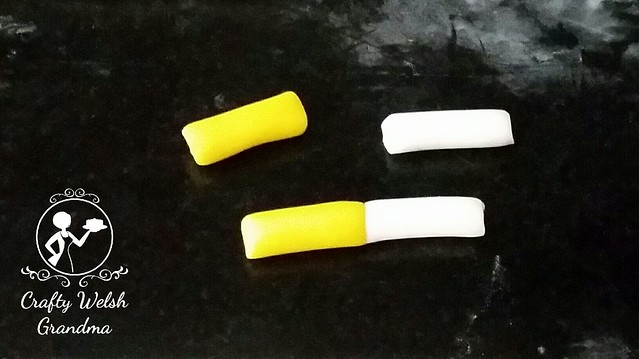
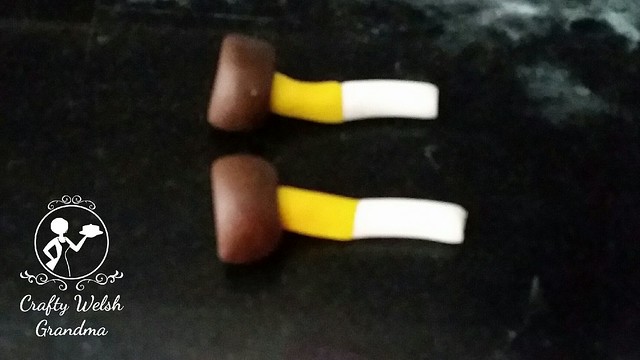
Fix the yellow end into the hole you made with the ball tool.

Here was my next mistake, the legs were so spindly that I had to insert cocktail stick down the length of the pieces in order for the to be straight.
Step #7 - The shoes
Using black fondant, roll two balls the same size then flatten into a more ova shape.
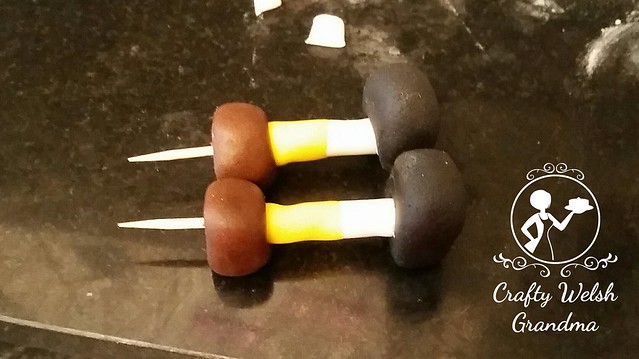
Using a ball tool, make indents into the shapes and insert the white part of the shape into the holes. They will be secured with the cocktail stick. Ensure the cocktail stick does not stick out of the bottom of the shoe.
Step #8 - Affix to body
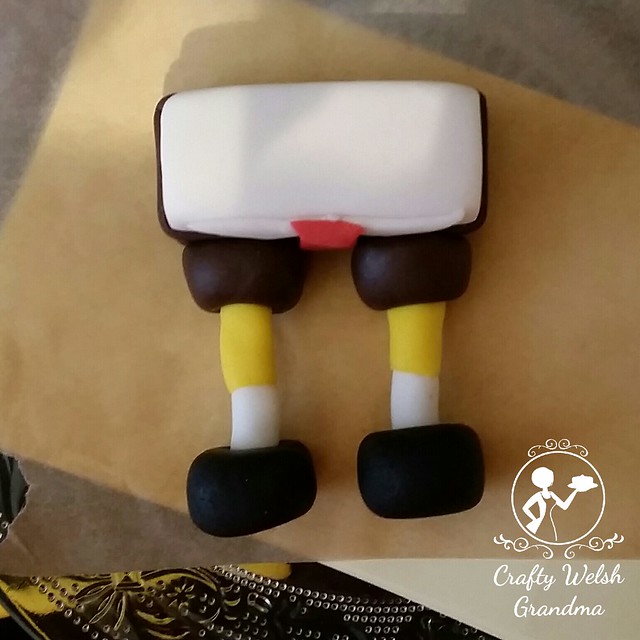
Using yellow fondant, shape a piece into a large, flat rectangle. Place it on top, do not fix, to check that it fits perfectly onto the white block. Take it off and lay it flat on your work station.
Insert two cocktail sticks into the white block ready for fixing the yellow head on later.
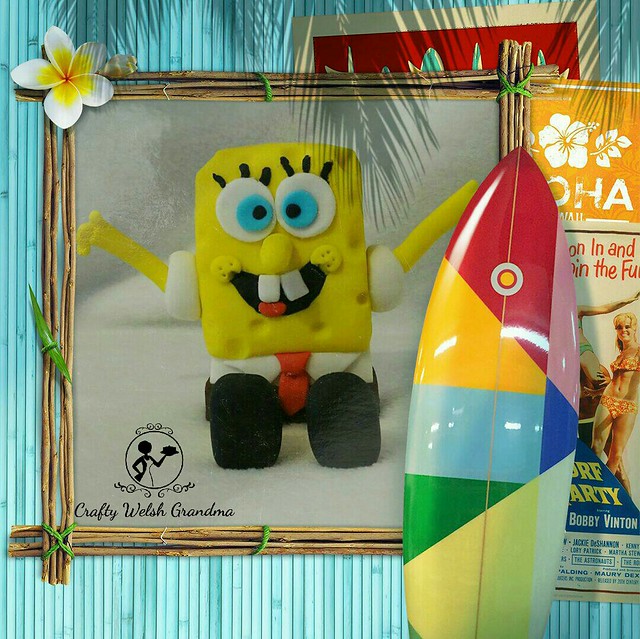
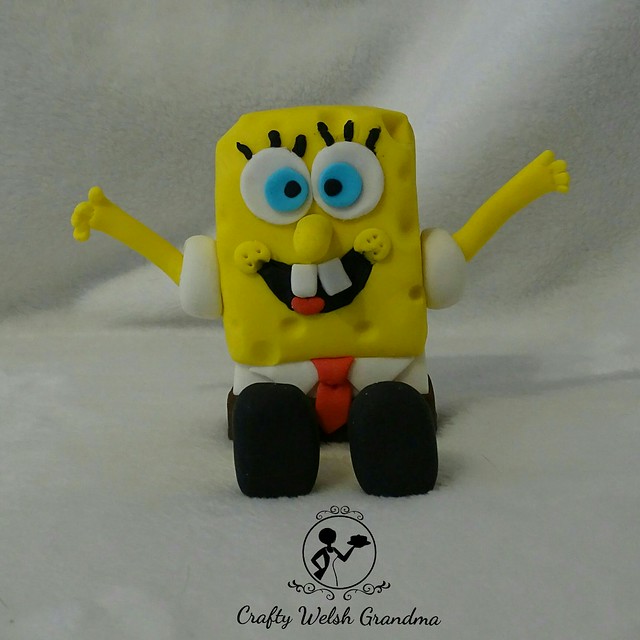
You will notice the amazing errors I made on the face, I eventually re-did the face and squared up the body further as you can see from my main image above.
Step #10 - The face
Using an image of Spongebob for reference, continue with your piece and make his face.
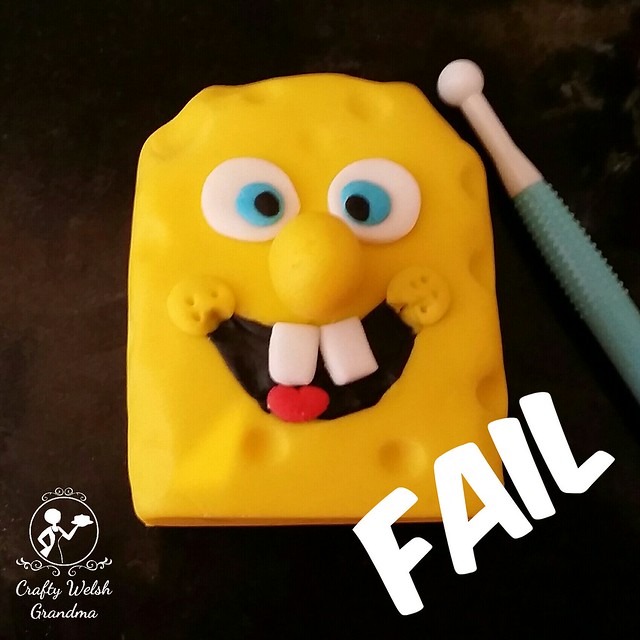
You might find it easier to use a cocktail stick as extra support for his nose!
Don't forget to add the sponge-type indents, using your ball tool.
Step #11 - Arms
Roll out tow sausages and make three small its in one end, these are the fingers. You'll need to shape these so they are not so 'square' on the tips.
Don't forget to insert the cocktail sticks in each arm. Then place to once side to dry.
How to fix these on is shown in the next step.
Step #12 - Shirt sleeves and arms
Take some white fondant and roll it into a short, fat sausage, much the same as the trouser legs earlier. Cut in half. The cut side will be fixed to the body / head later,
Using a ball too, make indents in each half then fix to the side of the body in a position no higher than the nose.
Insert the yellow arms into the indents whist ensuring that the cocktail stick does not stick out at the 'hand' end.
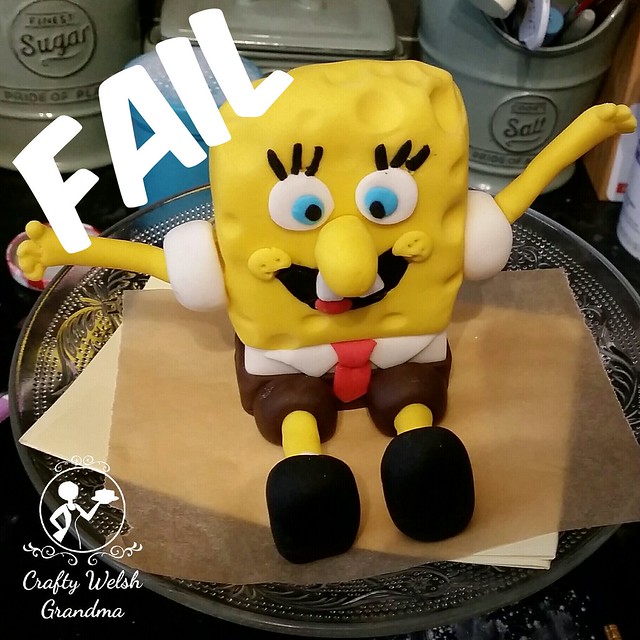
It took some transatlantic help from my son, to fix this tragic little face, I do hope you are happy with the new one. I know he's not 100%, but you have to admit, he's a 100% better than before
I deconstructed the top half, patted the sides and top with fondant smoothers to get straighter edges of this little sponge then put him back together
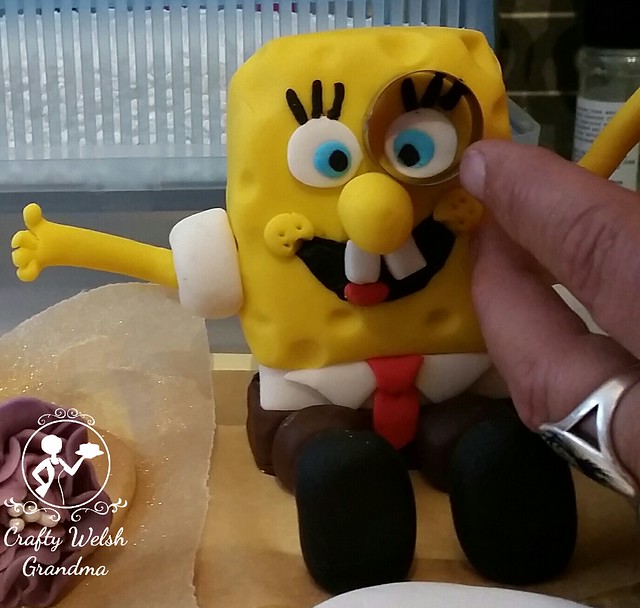
Fixing the eyes, with transatlantic help!
I was sending images, via a messenger software, to have help and guidance as to how much bigger the eyes should be. Then I took the old ones off and made new ones
Now doesn't he look better? (",)
Now available as a free eBook download here

No comments:
Post a Comment