
This is the first time I have ever made 2D characters for a cake. I searched YouTube and around the internet on the best way forward for the task, but ended up using a mixture of ideas, which I will share with you.
I thought it was a scary task at first, but when you see how I made them, you'll soon come to realise just how simple and relatively easy, if a bit fiddly, the process is.
Things you need:
An image of your chosen character, either hand drawn on printed.
If printed, you'll need a printer
Some thick paper or thin card
Scissors
Modelling fondant
Modelling tools
Edible glue
I found what I needed on the internet, so that's the process I'm going to show you here.
Step #1:
Find an image of your character that you want to make and download it to your laptop / PC etc.
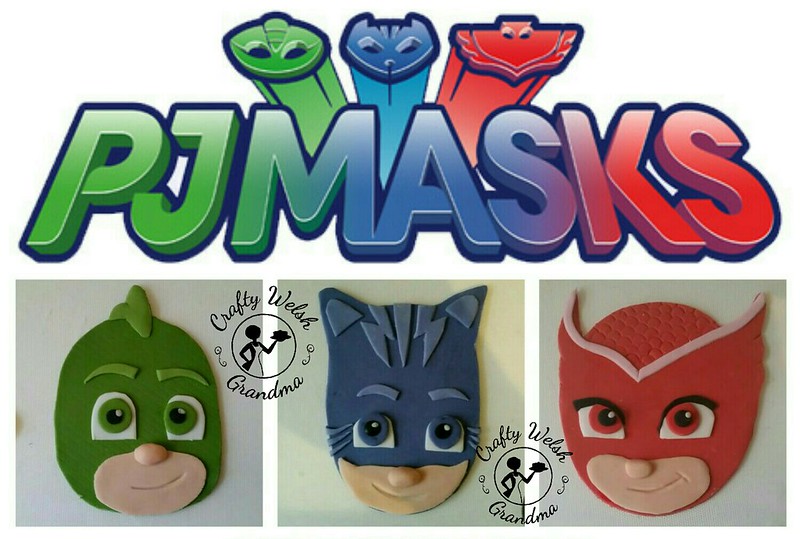
I suggest that, when searching, you look for 'colouring pages'. I seached "PJ Masks Colouring Pages" when looking for mine. These images are basic line drawings which makes it easier to work with
Step #2:
Measure the size you need the character to be then print it out onto thick pager / thin card.
I suggest printing two - you never know. And you can always use one for reference as You'll be cutting one into pieces.
My character faces were to be 12cms
Step #3:
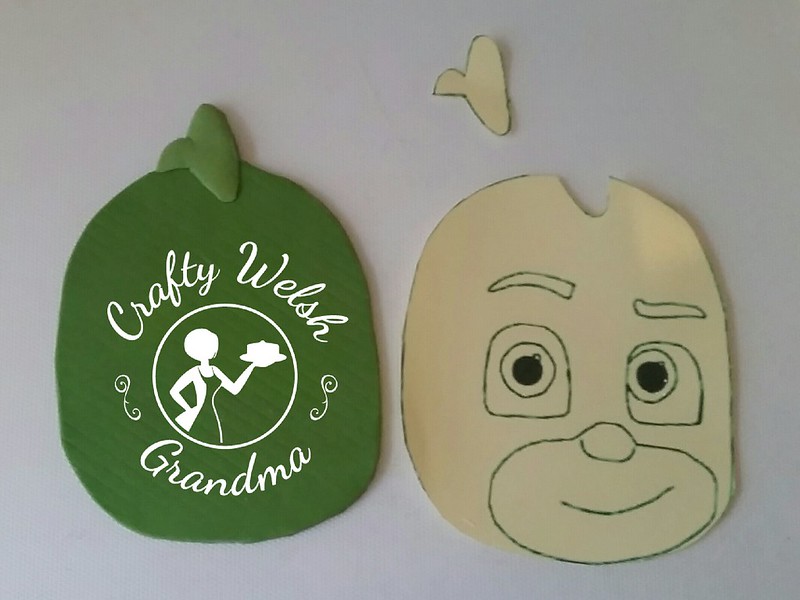
Cut the outline only out, do not cut out individual pieces just yet, you'll see why in a later step.
Step #4:
Roll out your fondant, place the full cut out on top and cut around the edges.
You might find that it's not smooth, but you can fix this using your fingers to gently rub the edges and remove 'sharp' cut shapes
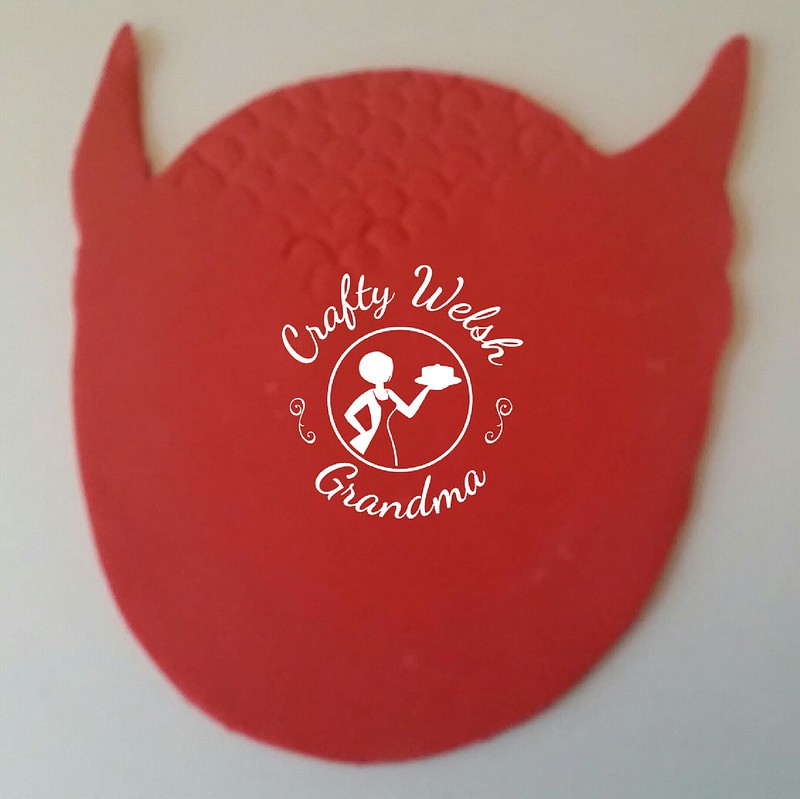
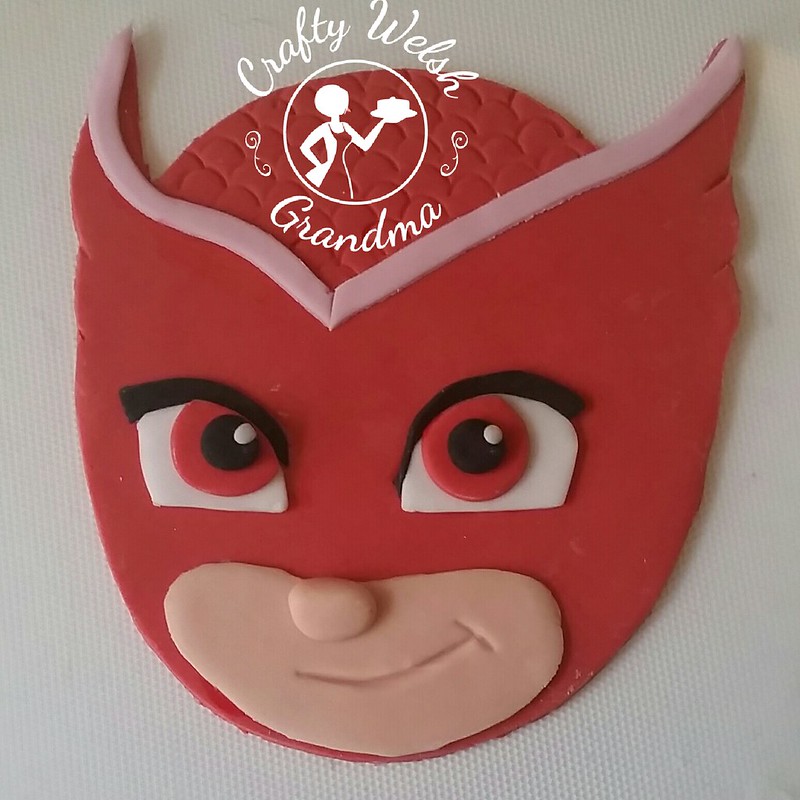
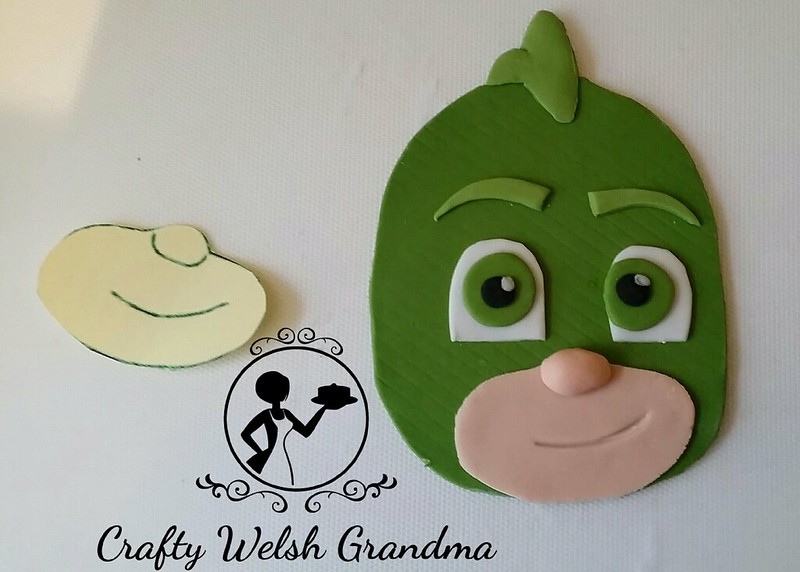
You now have the basic, flat shape. Add some texture here if needed. For me, I used the half moon shaped tool from my modelling kit for Owlette's head piece and for Gekko I found the 'B-Side' of one of my cutting boards has squares on. I turned this about 45*, and impressed this 'diamond' shape onto my fondant base.
Step #5:
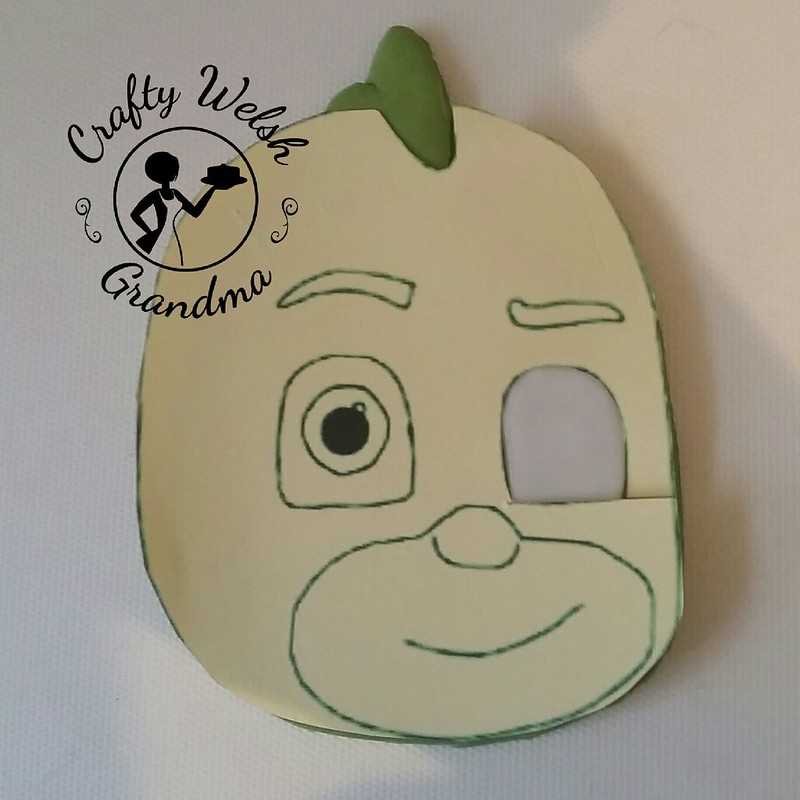
Start cutting out the small detail, one piece at a time, either the eyes (see step 6) or headwear - I started with the eyes for Owlette, the crest for Gekko and ears and head stripes for Cat Boy
Use this card shape as a template to cut out and mould the piece you need.
Place the card onto your base piece of fondant so it matches your shape and then use the blank space left by the piece you cut out to fit your fondant into.
Glue each piece on as you go.
Step #6:
When cutting out the eyes, do not cut away the remainder of the card

Place the card back onto your base piece of fondant, taking care to match up the outline, then fit your fondant cutout into the card cutout.
I used the edge of a pallet knife and some tools to smooth the edges of the smaller pieces out when they were in place as the base was now harder than when I started.
Step #7:
Continue in this fashion until all your pieces are in place, remembering each time to:
Place your card on top of the base piece of fondant, glue your new piece of fondant into the void
Then move onto the next piece
Remember to glue as you're going! It seriously helps

Don't forget the fine details like eyebrows and mouths:
You can cut out pieces for the mouth if you prefer, but I just used my tools for those.
Remember the little highlights in the eyes
And noses:

This nose isn't quite right, so I moved it more to the side as this image is almost a side-looking view.
Touch-ups:
You will have areas that need touching up, regardless of whether you cut with a craft knife, a scissors or a kitchen knife. Don't stress, modelling paste is forgiving enough to put up with it, but do them all before it dries out!

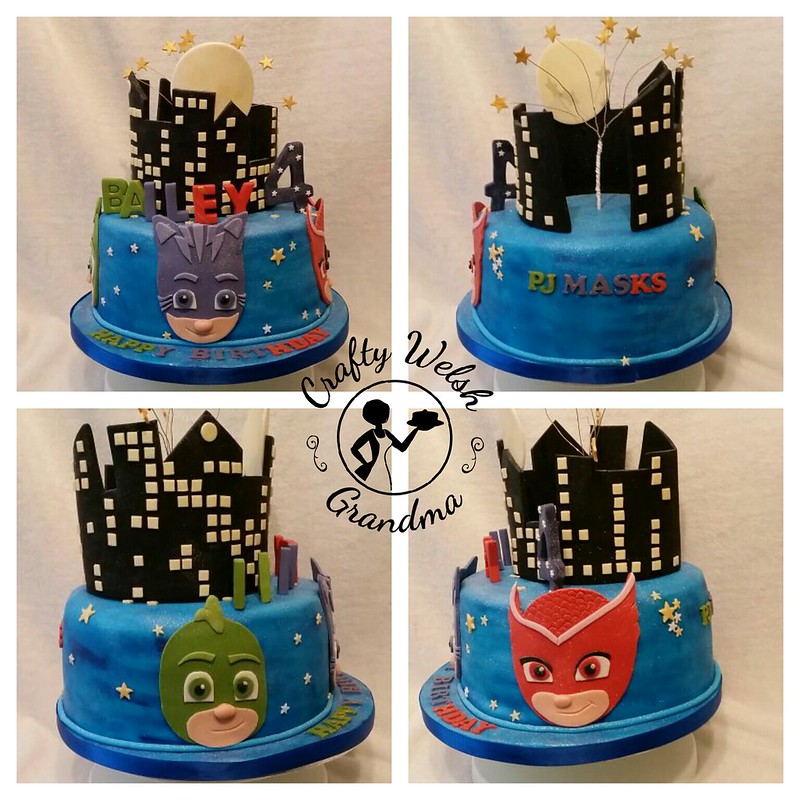
The Instructables post will also explain how to make the city-scape and moon.

No comments:
Post a Comment